Fingers drum across pursed lips. Feet pace back and forth in front of a huge display wall of light fixture. I am LITERALLY the worst when it comes to decisions like this. I stood there at that wall, knowing quickly what fixtures I didn't like but struggling as to what ones I would want to forever reside on my bathroom wall. Yes, when Armageddon comes this light fixture will still be on the wall and I could never take it down and replace it if I decide later that I don't like it... well, at least in my mind that is how that works.
So I stand. . . and stand staring at a wall frozen unable to make a decision. My phone is in my hand but unfortunately our local Lowes is the black hole of cell phone coverage.
Finally after what seems like a half a day (not even close in reality) I have narrowed it down to three options and to finish it off I just chose the one that was on sale: thus is the epic of a story for what lead to this post.
It is amazing how a small thing can keep you down. Putting up a light is not that big of deal. It is literally twisting 3 sets of wires together yet somehow between going and picking it out and being sure enough to actually open the box it held us up in finishing our bathroom.
So what do you think of my choice?
By Rachel Abi


After we finished the light we moved on to replacing the base board and quarter round. Before we pulled up the floor I pulled off all the molding so that I could save it and use it again. This was a bit more tedious then I would think but in the end not having the tools or wood to replace them it was easier and WAY cheaper. Make sure you have sand paper though! To make sure that when you repaint it comes across as a clean coat and not have weird layers on it.


Finally for this post and I feel most important: the toilet!
I was intimidated by the thought. Not so much cause the process was difficult but more because of the implications if you get it wrong. All the work, effort and money could be a waste if this one step didn't go right. Such a simple process. . . seemed too simple but it wasn't.
Toilet base (check)
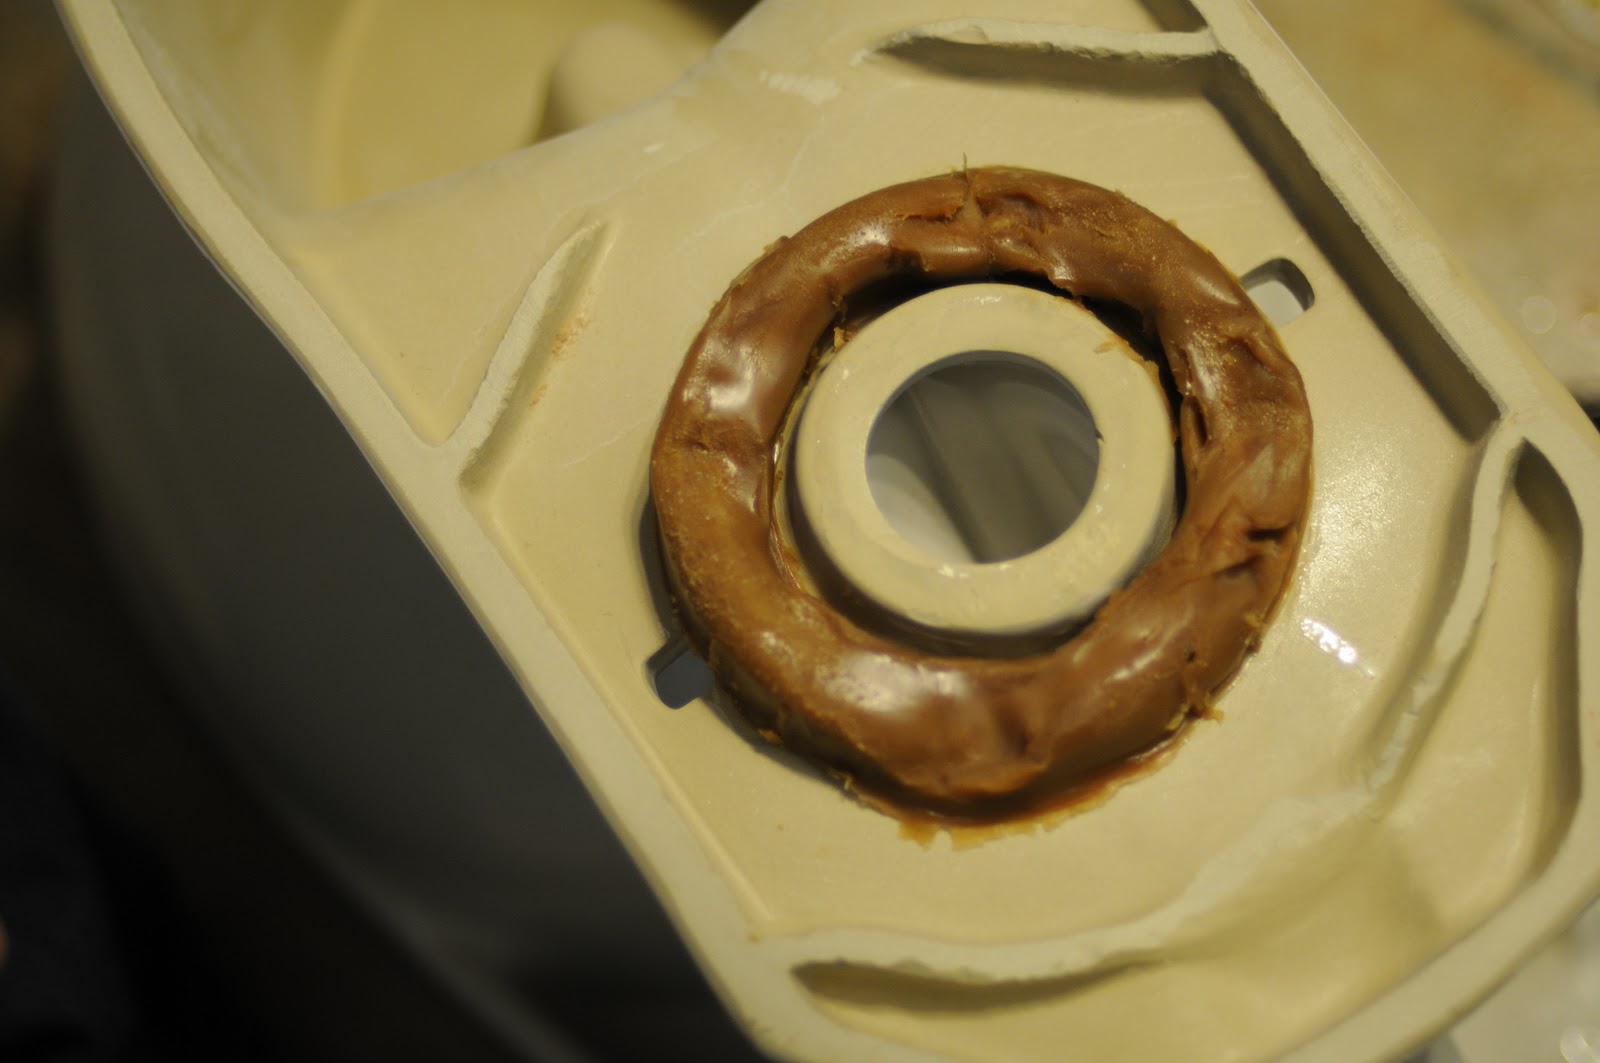
Wax ring (check)

Flip the bottom of the toilet base up to face you and place the wax ring around the opening of the base of the toilet and push down hard (this is all on the wax ring packaging... not inventing even a part of the wheel). The wax will come free from the plastic container.

Flip the toilet base over and match up the plumbing and holes and screws then. . .
Drum roll please
Push down with all your weight.
Screw the bolts down as far as they will go then leave it for 24 hours.

Repeat the process the next day tightening the bolts down far then follow your toilet's instruction as to hook up the tank to the base. (ours was pretty simple: two screws and one hose).

Finally: enjoy?
No comments:
Post a Comment