Tuesday, December 13, 2011

Tiling All By Myself, Don't want to be. . .

So the first time we decided to tile I was intimidated but this time I was even more so if that is possible.  Chris was away and it needed to be done so I had to do it by myself and figure out how to cut a circle into what is essentially a rock.  I don't do well when there isn't someone there to get opinions from.  But I marched on and it was much MUCH more simple then I thought it would be.

Sweep off the durrock make sure there are no stray dirt or clumps of any kind


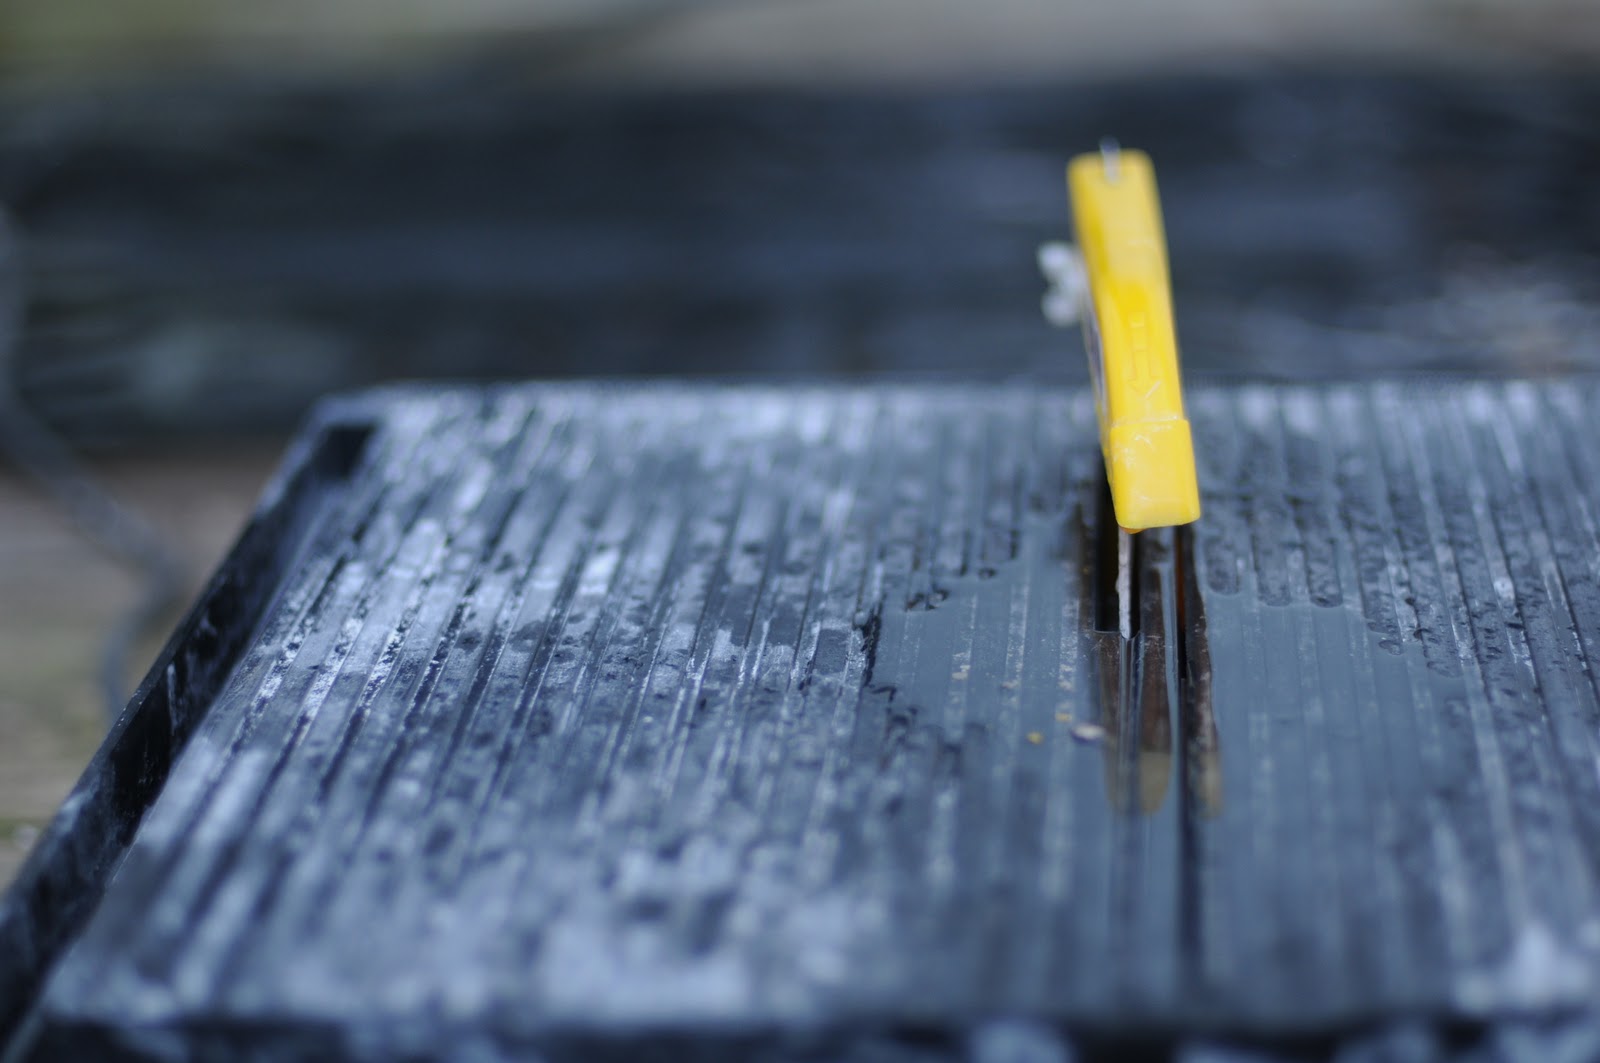
Make sure you have a wet saw with diamond blade waiting ready to roll, we got ours for like $50 when it was on sale.


With a space as small as our bathroom you can start on one side of the room and then move across to the other, in larger rooms you need to start in the middle and work out in quarters of the room.  I laid out all the tiles and measured out and marked all the tiles I would need to cut.


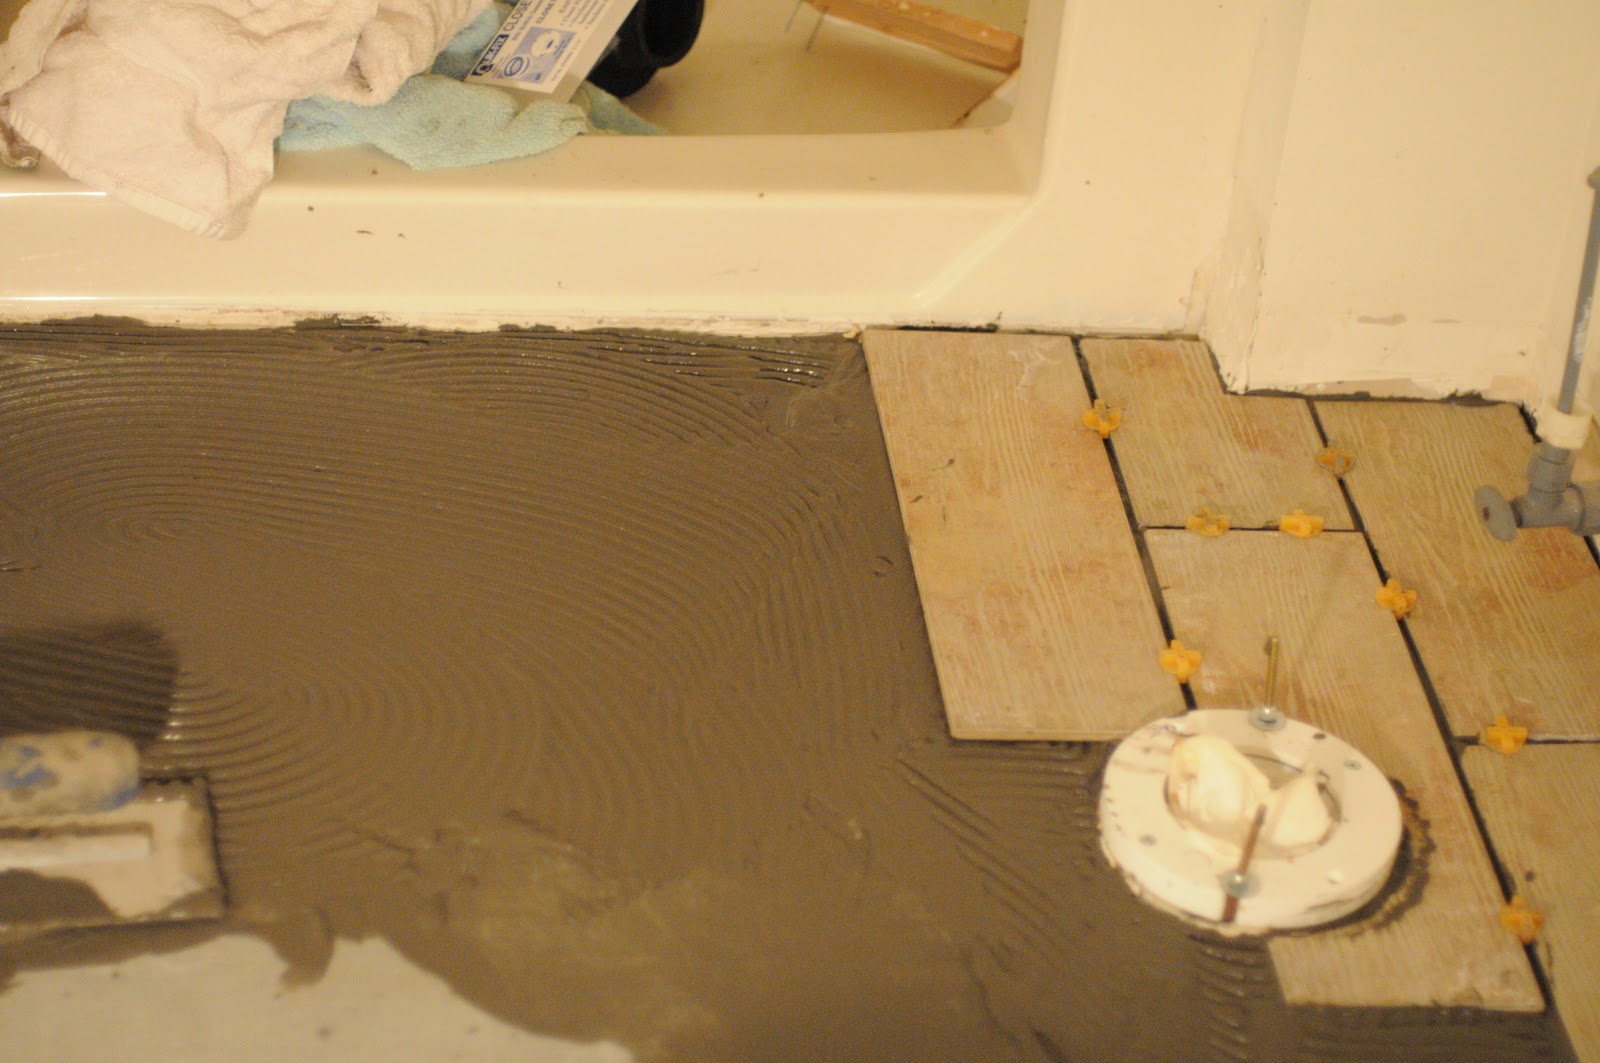
After cutting all the tiles to the right size I laid them all out again to make sure that they fit well then I pulled them up in lines and moved to mix the mortar.  The directions are on the bag you buy but basically mix and mix and mix.  You're better to go on the watery side then dry side... too dry and your tile won't stick... then again too wet and it won't stick either.  Basically it should be more wet then the texture of cookie dough but not as thin as egg nog?  I don't know if that helps


I found that doing different strokes was more fun then straight lines.  Online they said it was better for making the tile stick but nothing to prove it... so you can judge fro yourself.

When you place the tiles down evenly distribute some of your weight onto the tile so that it is fully pressed into the mortar.

Make sure to place spacers down around each tile to keep the spacing you want.


Jumping back to when you cut, cutting the circle with our wet saw is basically a long patient process.  You have to cut out sections and then use the blade to almost sand off the really uneven pieces.


When you are mixing the mortar and the grout I would suggest wearing a mask for the dust... not fun to breath in


I finished the whole project, working fairly slow, in about 3 hours.

Don't worry if the mortar got on the tile when it dries it will be easy enough to get off.  I used a plastic fork and a damp sponge and was done cleaning it off in less then 10 minutes.  But before trying to clean it off let it sit for at least 24 hours or your weight could mess up the tiles.


Almost there... 

Thursday, December 8, 2011

Simple decor for the holidays

  This is a great example of my super talented sister in law.  Simple white plates on a simple Christmas-ish table cloth with small apples for a color pop.  Takes only moments but adds so much.  Then it is not just for Thanksgiving: A Thankful Tree.  It is a simple centerpiece that is not only great for the eye but also great for a reminder of keeping a positive thought process.  Take some bare branches fallen or off the tree and make them all about the same length and get some clothes pins and paper... and your pretty much done and it is simple yet looks great!


Sponsored by: 
Gussy Sews Inspiration Workshop!

Tuesday, December 6, 2011

Ready to renovate your bathroom!?

I have posted about this bathroom before and now I have done something about it and I'll show you what and how to do it!

This is what the bathroom looked like when we moved in.
Original cabinet and toilet.
Base paint the only paint on the walls.
Peeling linoleum floors.

I will show you how we gutted and rebuilt our bathroom including tiling the floor step by step with instructions!

So here is day one of what turned into one awesome bathroom!

Step one I sold the old toilet and cabinet/sink/faucet on Craigslist.   Not for much but I got paid, they got a cheap cabinet to redo or use in a shop and they hauled it away!  BTW when you pull out the sink and toilet you will want to stuff the drains with something or it will reek.

Next step: pull up the quarter round and base board then the floors! 

I used a hammer, chisel, right angled crow bar and a flat head screw driver.  My goal, and it was achieved, was to be able to reuse the materials. I found it easiest to work from a corner then go out towards the middle of the baseboard/quarter round.  I used a chisel or flat headed screw driver to get the piece away from the wall enough to get the crow bar in and gently and slowly made my way down the piece.  DO NOT pull hard. If you do then the piece you are working on will snap, especially with quarter round.  It is a slow process but since I don't have the tools to be able and make my own new set of trim it saved me TONS!


Pulled off the cover to the electrical light socket.  I left the base for now because I knew this process would take more than one day.


One thing you always have to check for in any room, when water is involved, is water damage.  This looked bad but we had it looked at and our "guy" said that it was just stained but no damage to the wood.


Next step I cleared off the base boards as much as possible.  I actually vacuumed after I swept. It is really important to have no debris on the floor for this next step: putting your Durrock down. (You may have to get a toilet extender flange)

Before you put your Durrock down you need to measure the room.  Every divot and corner.  I drew a not to scale picture of the room and marked what each little part was next to where it was depicted on the crewed drawing.  The hardest part about this is actually the toilet hole but if you have a string it isn't too bad.  Measure away from the wall to the plastic toilet ring flange (the white plastic part surrounding the actual hole) and from the other side of the flange to the other wall. This gap in distance gives you the diameter and half it and you get the radius/the length you should make your string.  (ex: if the full length of the room is 15 ft and on one side of the flange is 18in and the other side of the flange is 13ft you can know that the diameter is 6in and the radius is 3in)  Tie a string around a marker measure out the radius length and add a bit more room (rather over cut then under, believe me!) and cut it off.  Measure off the distance from the wall to the flange then add the radius length to that and you know where to hold down the string! Draw a circle!

Now to cutting.  All you need is a box cutter.  Mark your areas score them and break it off (remember during the process of moving your Durrock around that if you bend it, even a little bit, and it gets any sort of not  perfectly straight look about it you can't use it).  With the circle cut: OVER cut.  In this case bigger is almost always better ;P


Now lay your pieces out and screw them down with these bad boys.  I put one in about every 15 inches.


Let them sit over night and then screw them down as far as possible.  If one won't go down remove it and screw in a new one.


Next step use all purpose wall puddy over the screws to make the areas flat again and puddy in any holes or gaps you might have.


Next use all purpose puddy tape between the different pieces on the seems.  They sell durrock tape but you can use just regular wall tape as well, works just as well.  Put down a bit of the puddy lay the tape and then more puddy try and get it as level as possible.


After this long busy day enjoy some rest before you get back to work tomorrow!


Tuesday, November 29, 2011

About a year ago I was granted a dream.  Who knew that a cleaning appliance could be a dream?!?  Well, in my case it really was.  We had been so kindly been given a vacuum when we got married but between then and getting into our house it didn't like to work as well, I blame our carpet... it molts, not attractive, just saying (it's on our list to replace...).   But on that day that my one and only Dyson arrived and for everyday for almost a month I vacuumed.  I was in awe of the fact that carpet was clean... actually clean!  I have issues I know, I wipe it down with a damp cloth... kind of feel like Monica, less the little vacuum.

Almost a year later... still in love.  If you can get a good deal(woot): so worth it!  


Thursday, November 24, 2011

It's time.


Happy Turkey day!

Can you believe it already here?  My tips for the day:

If you have family over or you are going to family remember that it WILL be crazy, things will not go as planned.  Choose to laugh over what could make you mad; find the joy.

Pace yourself and start early on the food so that you can eat all the more.  Yes, more food is the goal.

No matter what time the food is finished: it is the perfect time!

If you are cooking on this holiday: remember that you can do it and then you can RELAX.

Asking for help is not weakness, despite what your family might say (Ignore them, they are probably just hungry ;P).

If you are anything like me: find your pie and hide at least one piece (got to have a contingency plan). 

Most importantly: it is a day to be thankful.  Even if everything goes wrong and things get insane and people are yelling: you still got the food! (Insert big toothy grin)

To all of you out there: 

Sincerely I wish you a blessed and happy Thanksgiving!


Tuesday, November 22, 2011

Not just your average turkey

While you prep for you Thanksgiving this week remember just cause you are having turkey doesn't mean that it has to be your average turkey.  Have fun with it.  Change it up.  

That's what I did, just a little early since I wouldn't be making Thanksgiving dinner this year.  I made a peach mesquite turkey. You can make your turkey any way you want, any toppings, rubs or oils.  Just keep these keys, to make sure that however you make your turkey that it is a moist and delicious turkey:

1.  Do not stuff your turkey with any bread products, especially not stuffing.  I know it makes the stuffing all the better, but it makes your turkey dry.  Almost same taste to the stuffing pull some of the turkey dripping from the bottom of the pan.  Get the taste without the dry turkey.

2. Stuffing the turkey can be great.  I stuffed mine with peaches but other fruits and vegetables can add great flavor to the meat.

3.  Rubs can be great to keep moister in, otherwise thoroughly apply oil to the outside of your turkey.

4. Keep your turkey covered pretty tightly (Aluminum foil tight is fine enough).  Only uncover for the last 20 minutes or so.

5.  And almost most importantly:  For your best skin and moistest of turkeys insert butter tabs under the skin (I'll give instructions on what I mean exactly below).  It makes the skin crisp up a bit and look beautiful and infuses the mean with a little extra love and not too many extra calories.


Step 1: Clean your turkey.  Pull off the cover and pull out the giblets and neck.  Rinse with cold water thoroughly.  

Step 2:  Depending on the size of your turkey (mine was 13lbs) make a handful of 1.5-2" slices (I did four one for each quarter of the turkey).


Step 3:  Insert tabs of butter into the slices you made, make sure to put them under the skin fully.  (amount of butter can range but I used right around a TBSP for each slice.)


Step four: If you are going to stuff your turkey, here is where you stuff it (I got peaches for really cheap in the summer and froze a bunch and used those to stuff my turkey)


Step 5: Topping/Rub/Oil.  I used a bit of Olive oil and rubbed the skin of the turkey moist so that the rub would stick.  Then I used the spices in my cabinet to make a rub (in this particular case I was given a mesquite steak seasoning that I thought sounded pretty good.)


This is simply to give perspective on how "Stuffed" or not "Stuffed" my turkey was.  You don't need it jammed packed full to do the job.


Then bake it as per suggested on the package for weight.  I have a roasting option on my stove so I used that in my process but regular old baking works wonders too!  If your package doesn't say I would suggest 325 degrees and look online for a estimate to be sure but for my 13lbs turkey I roasted it somewhere around 4 hours.  When in doubt a meat thermometer is a life saver (you can get one pretty cheap, under 15 bucks, that will do the trick... just make sure the part that goes in the turkey doesn't get bent... doesn't work too well after that, go wonder).  

Go out and do wonders with your turkey.  You change up with shock and surprise your family in a good way!


My fancy, my whimsy...

I think my favorite rooms in my house, the day I moved in, were the bedrooms.  For one simple reason: all they needed was paint and decor!

It is surprising how long it took me to paint my back bedroom.  It is our office and it has been a mess.  But a few months ago I decided to get the painting done!  I am fairly a traditionalist when it comes to paint.  I like paint that will stay and work for years... I didn't go that route this time.  Straight out playful.